
License not required for purchases.
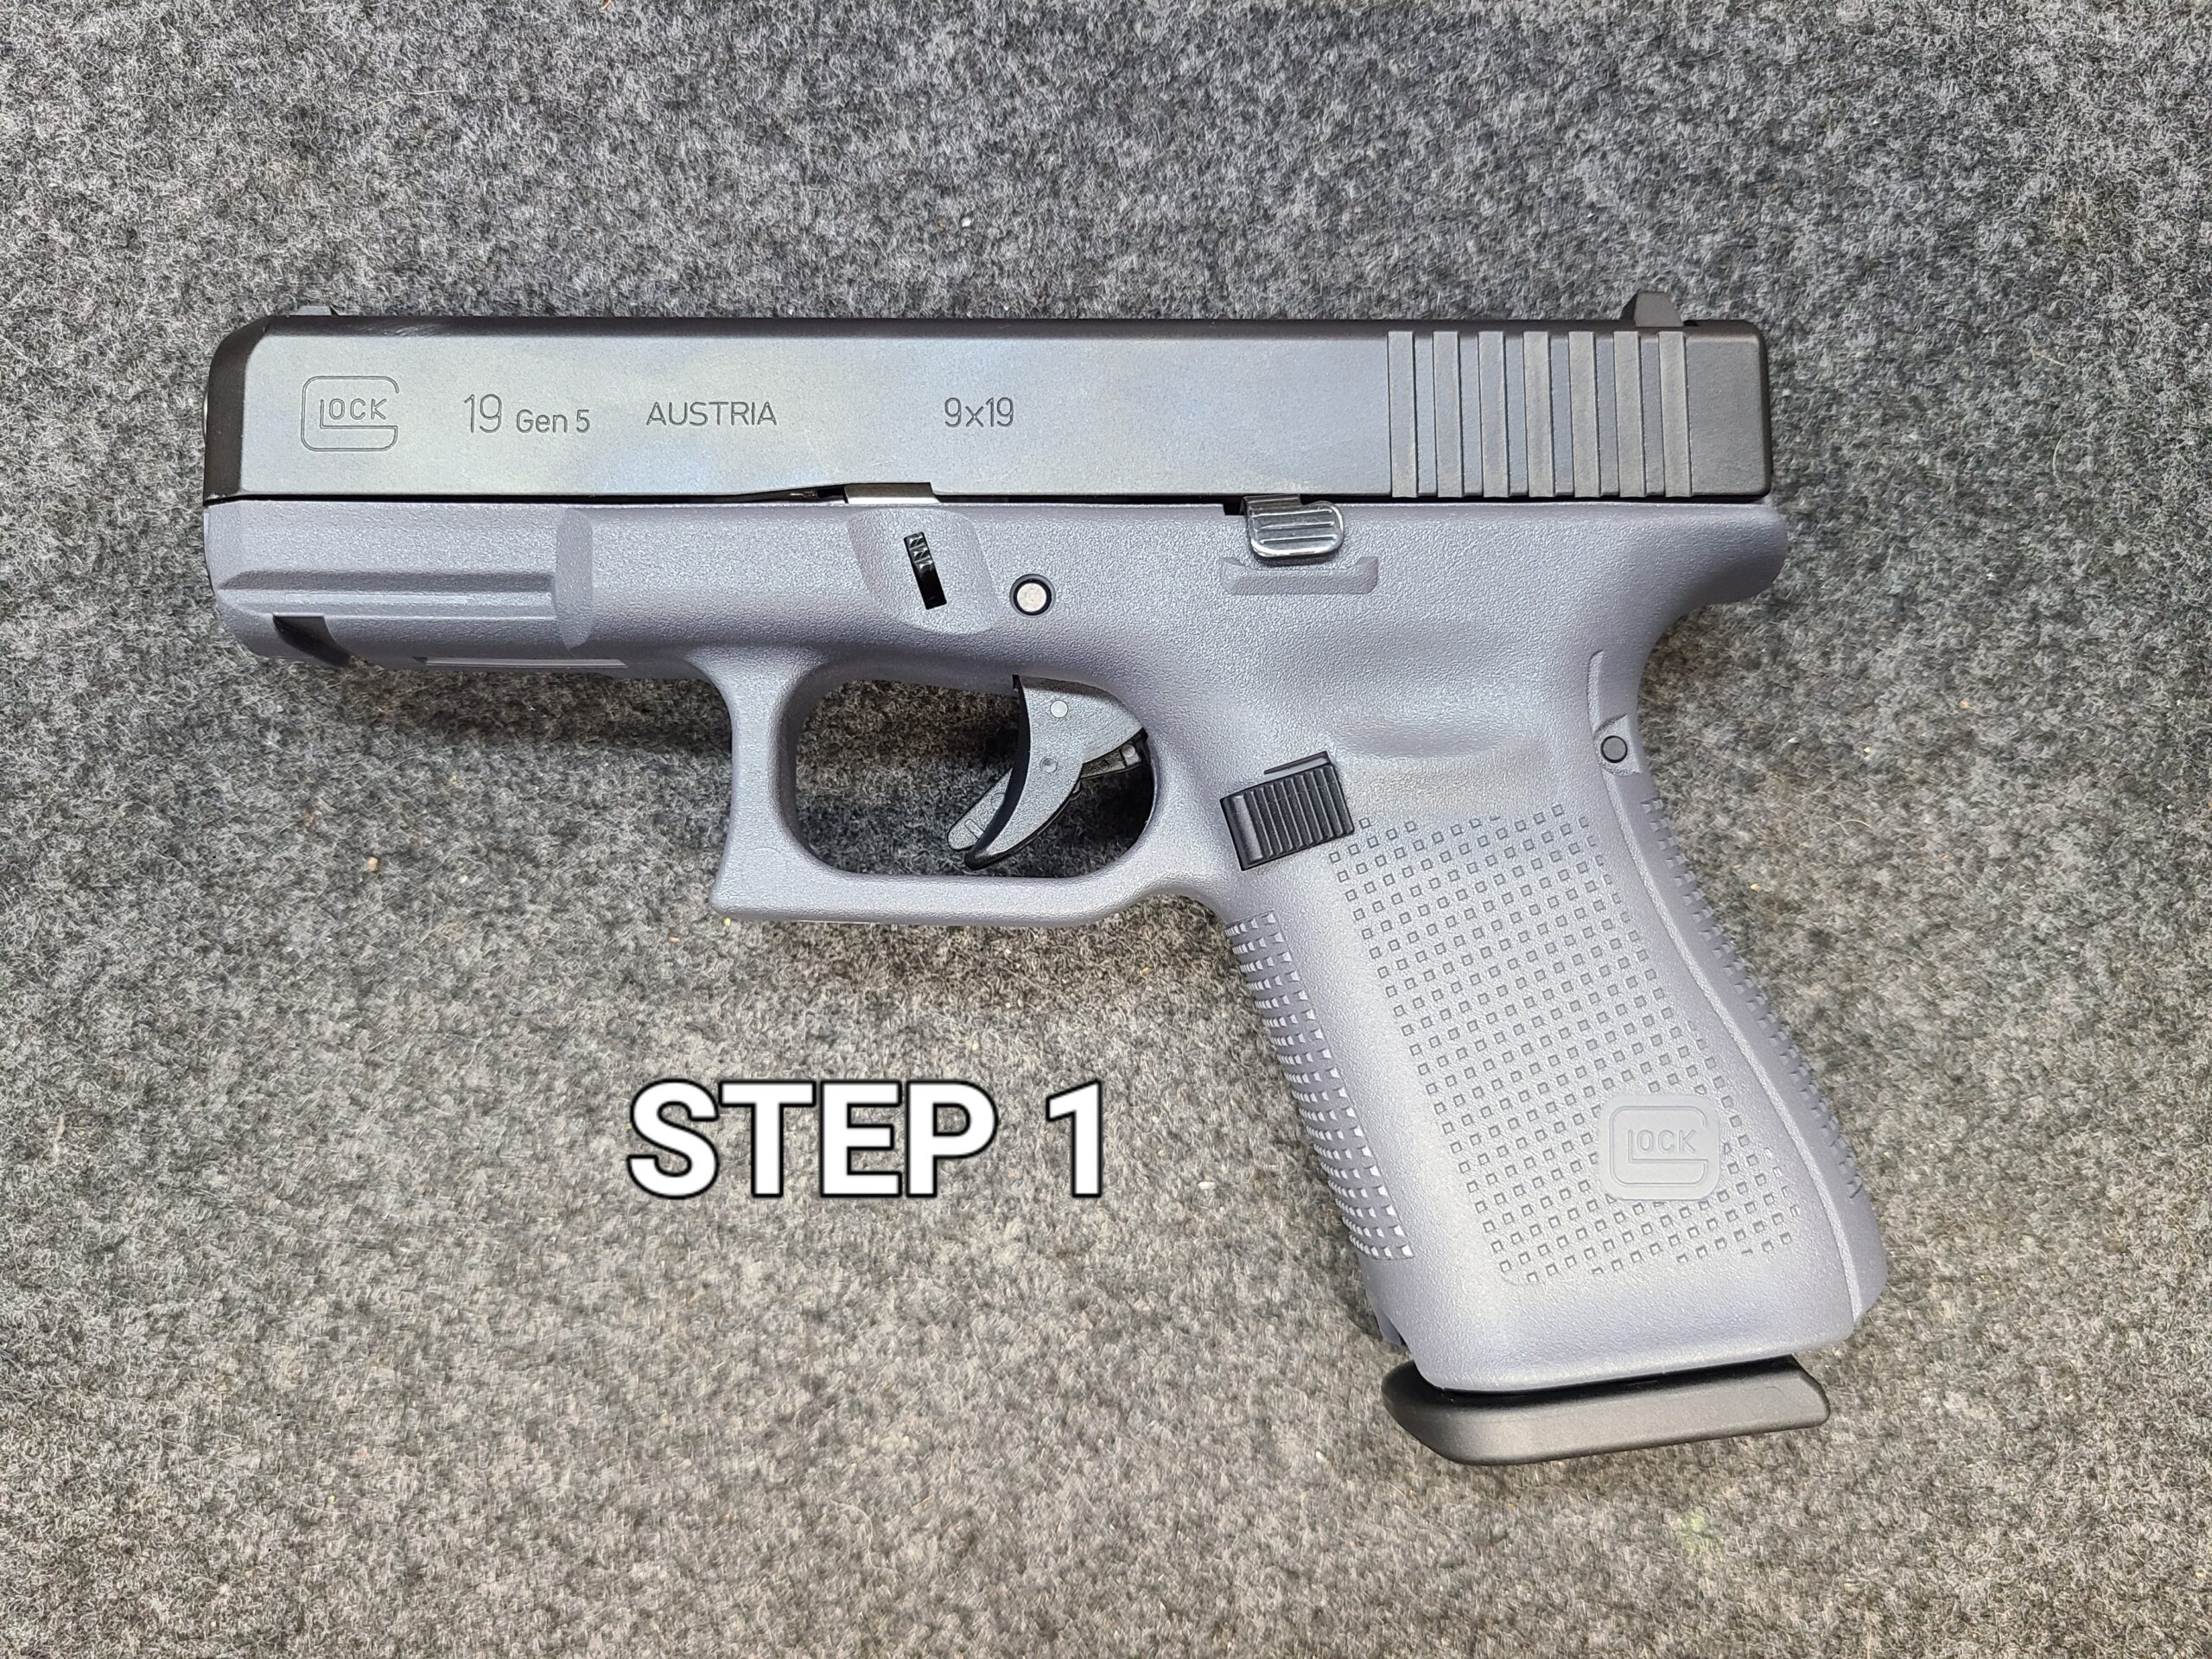
Remove magazine, lock slide in reward position, check chamber to make sure weapon is unloaded, Pull slide take-down lever downward and remove slide towards front of pistol. (if you need help with this step, please stop what you are doing and find a gunsmith)
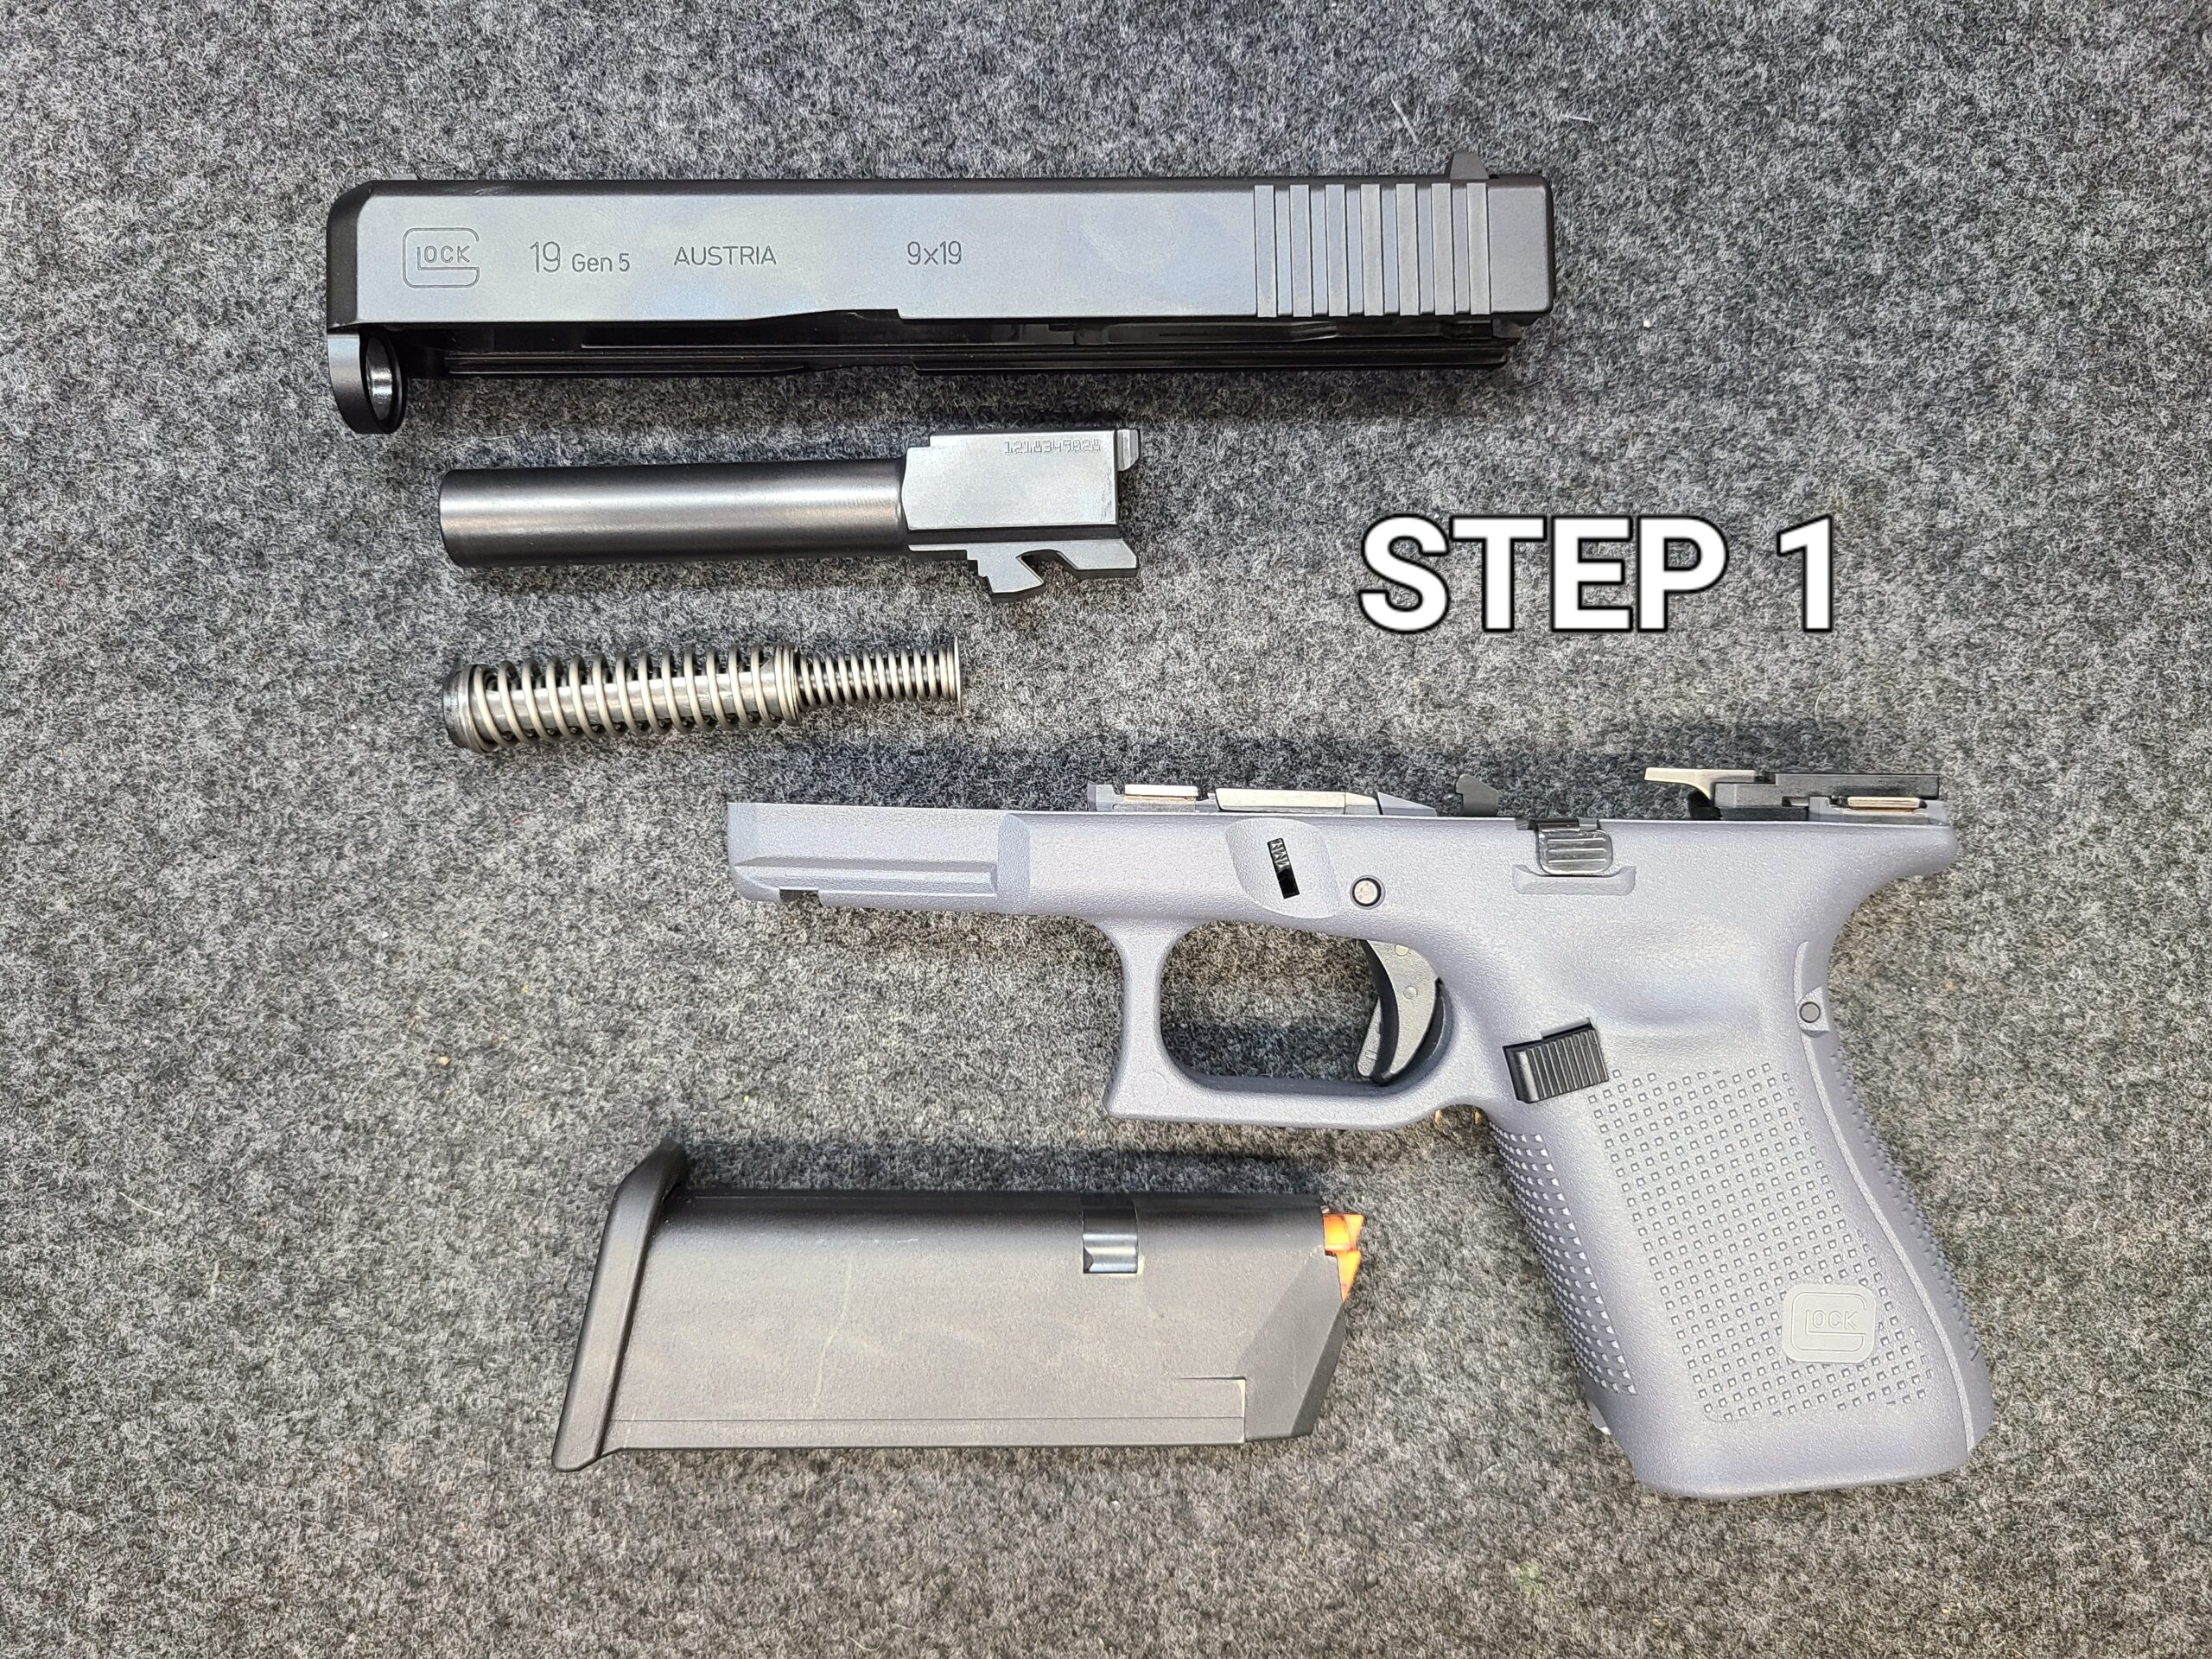
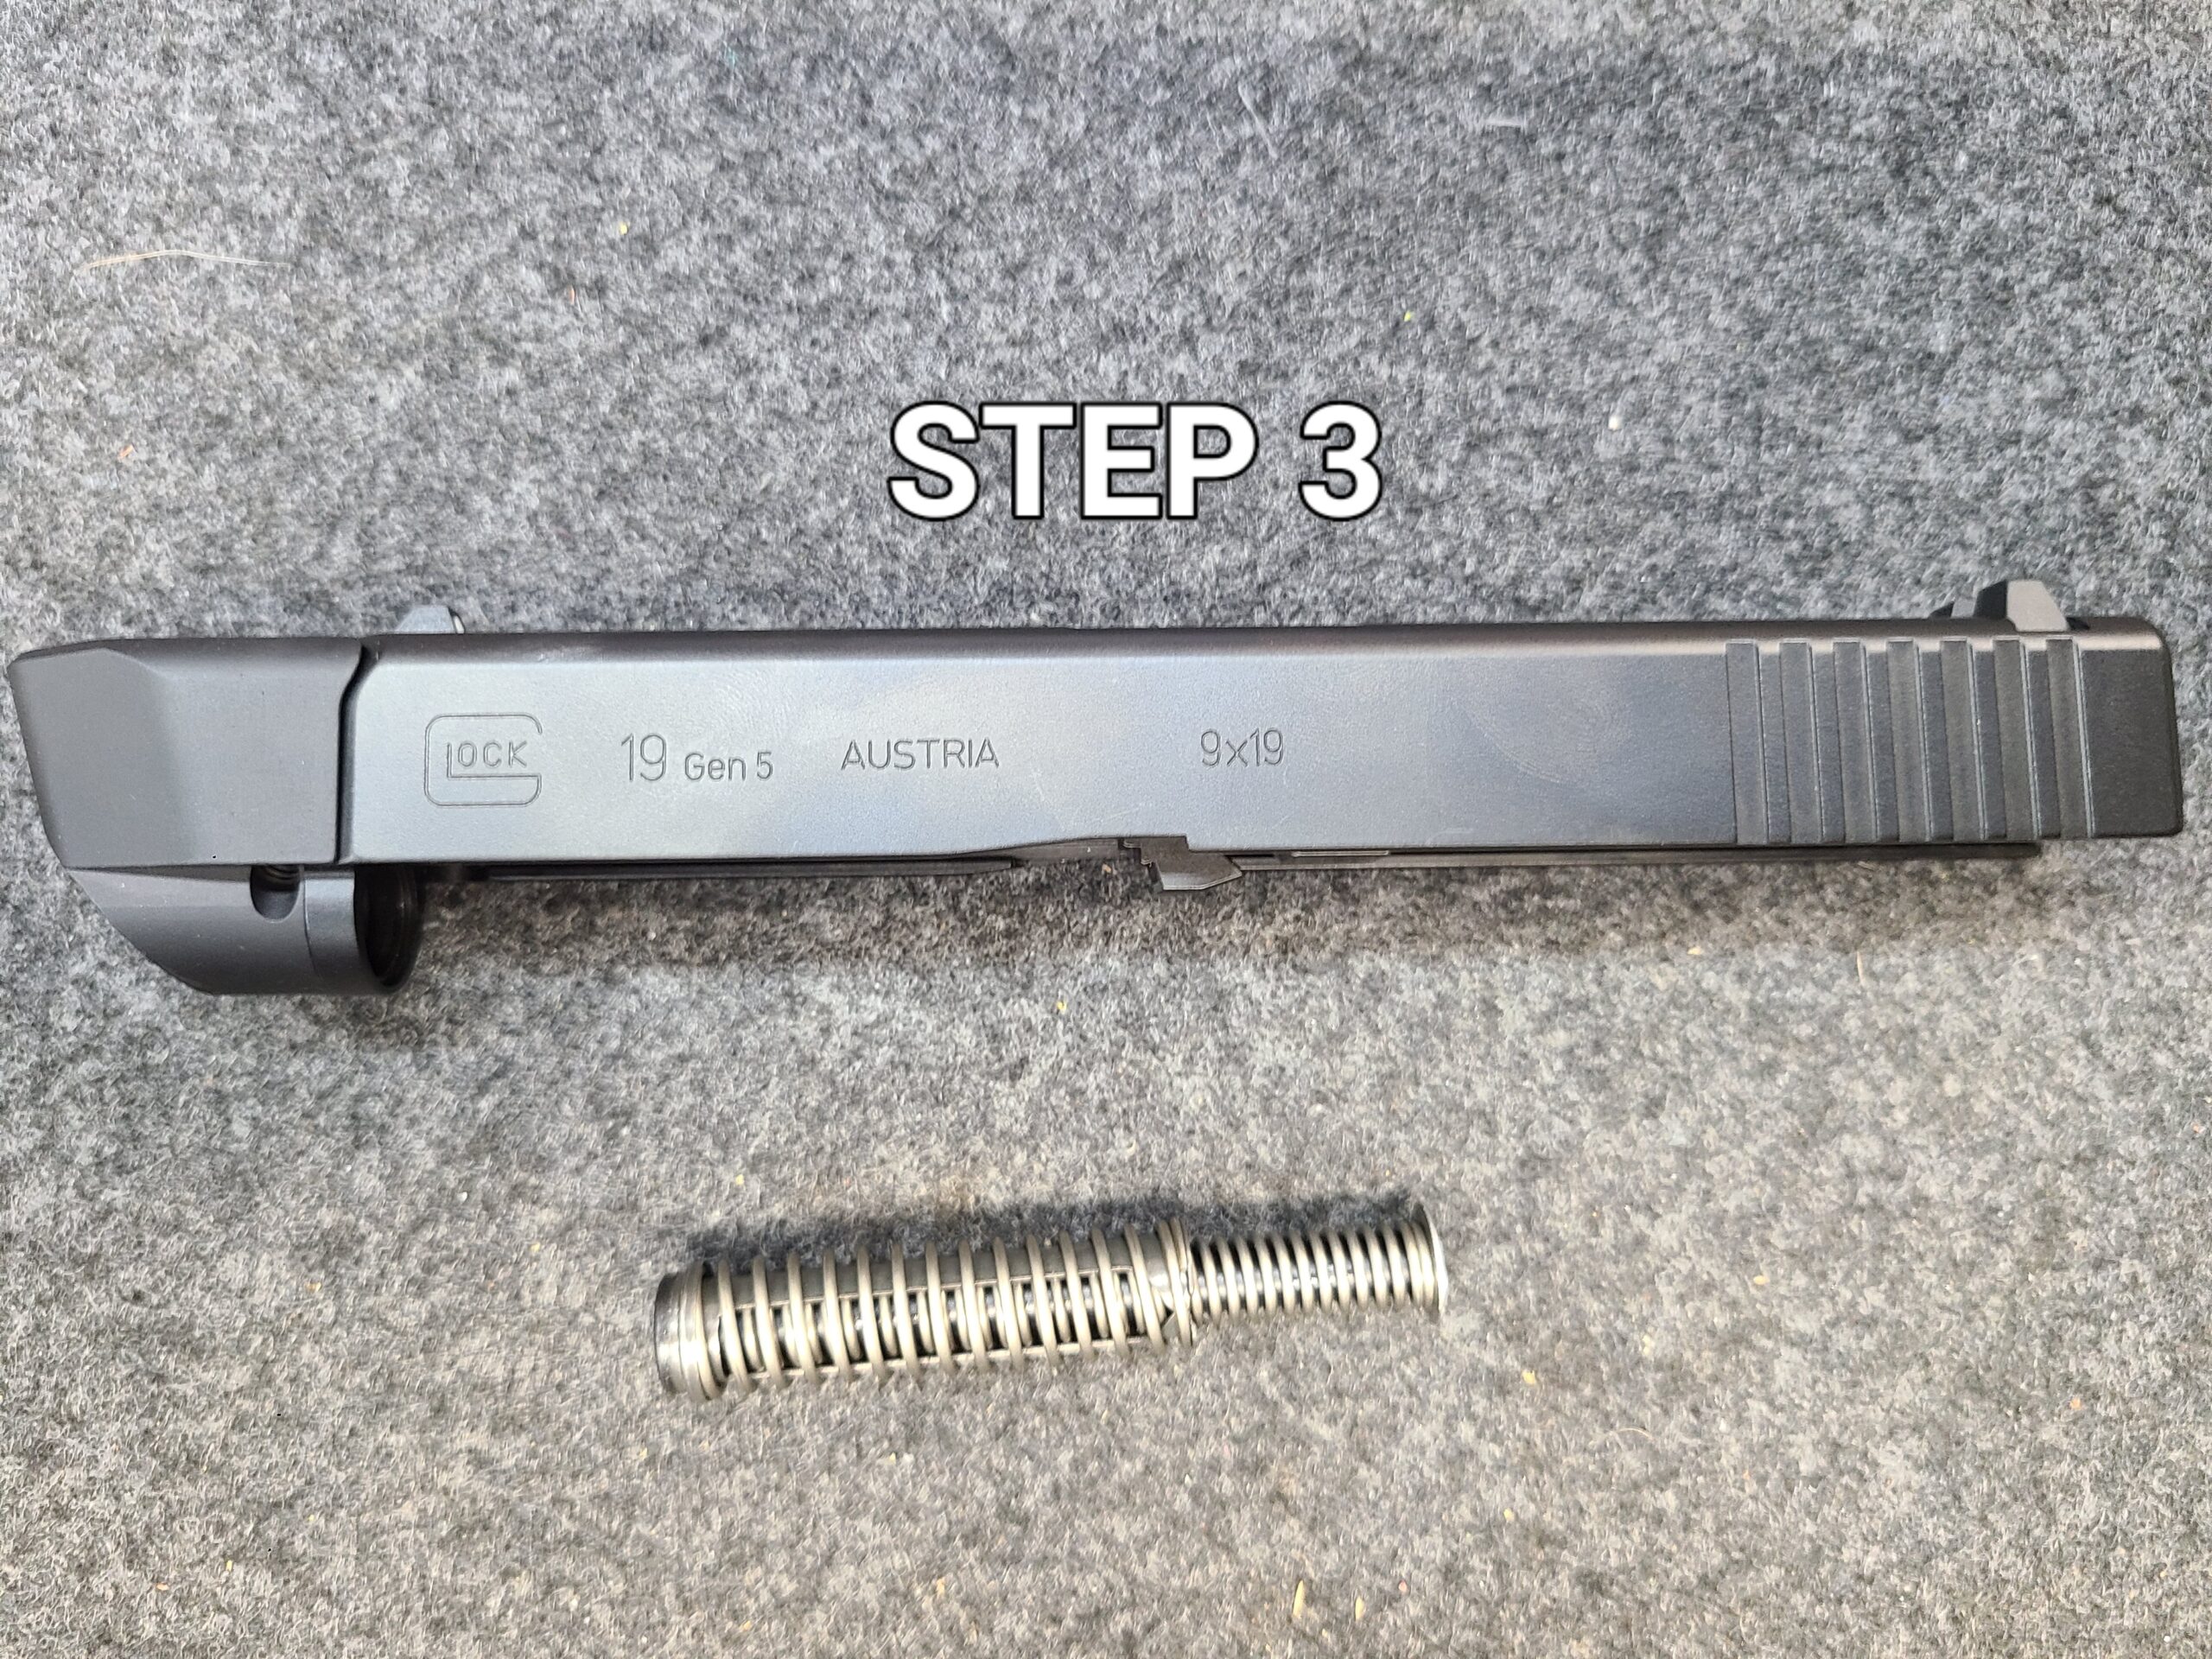
Remove recoil spring assembly and barrel and set aside. Install new threaded barrel
(Hopefully you have purchased one of the fine barrels available from Backup Tactical Corp).
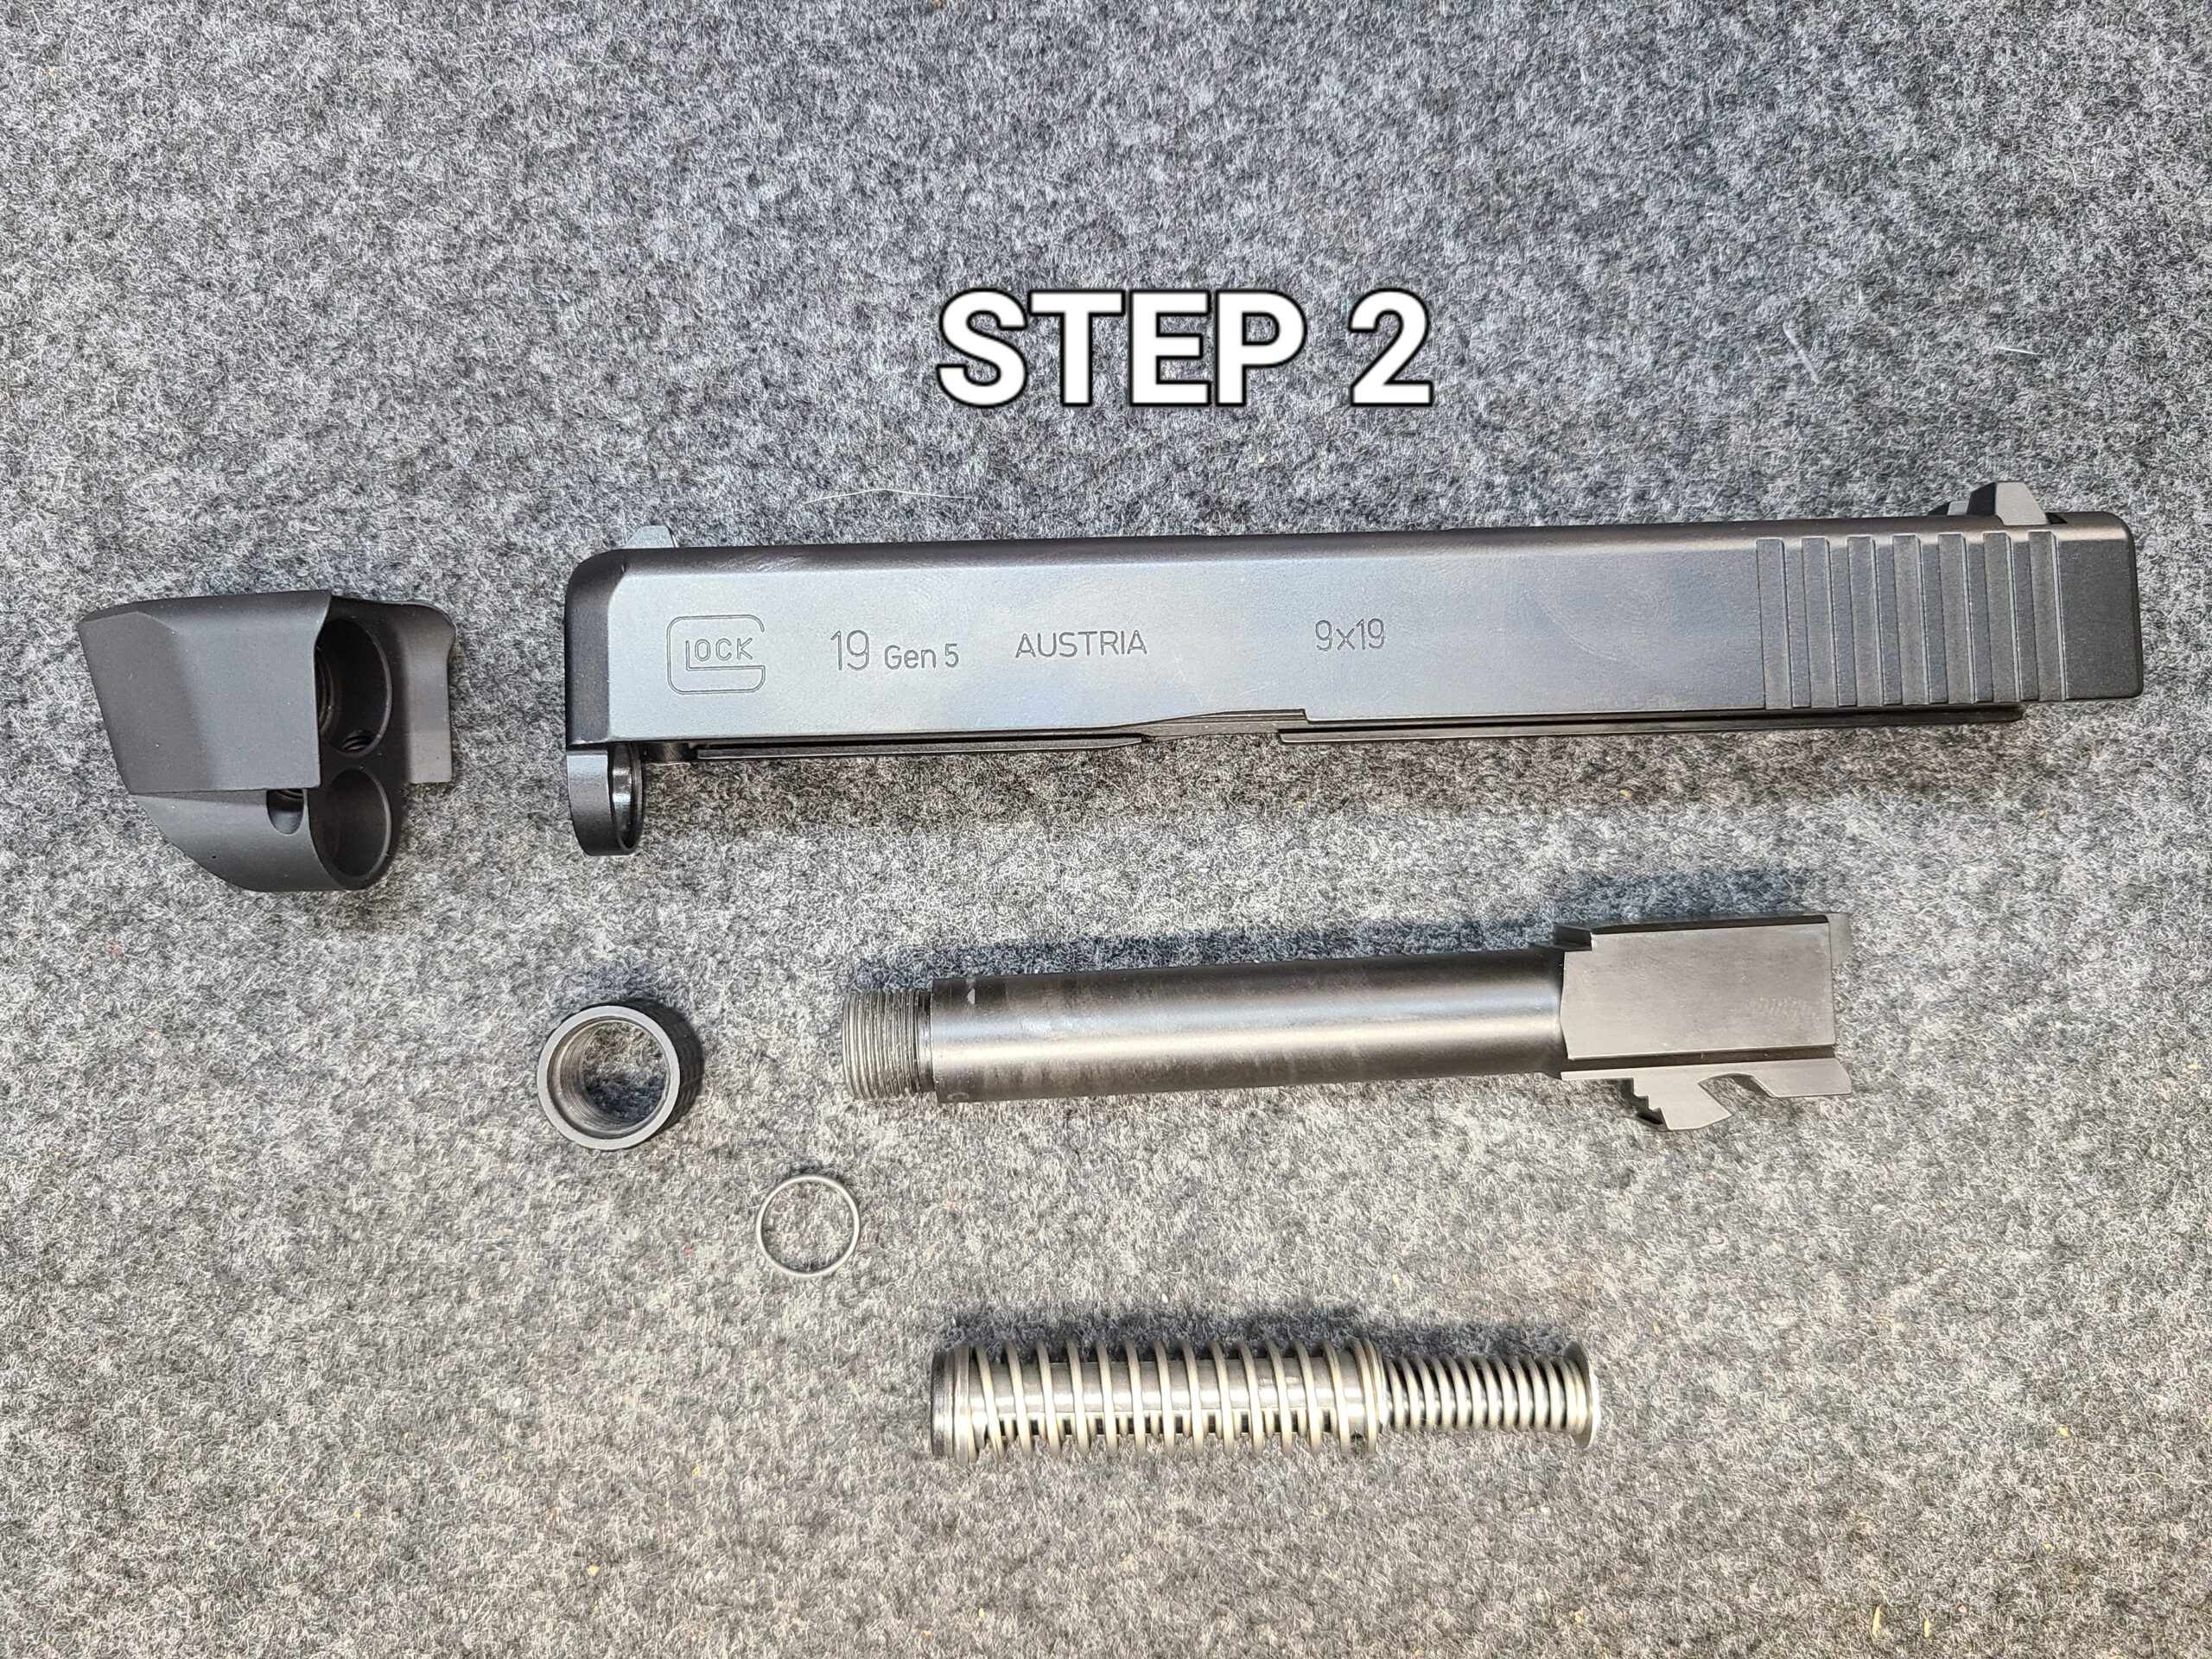
With barrel extended out the front of slide, First remove the rubber o-ring from the end
of barrel then carefully thread on the Perfect Fit PROComp (this is right hand thread
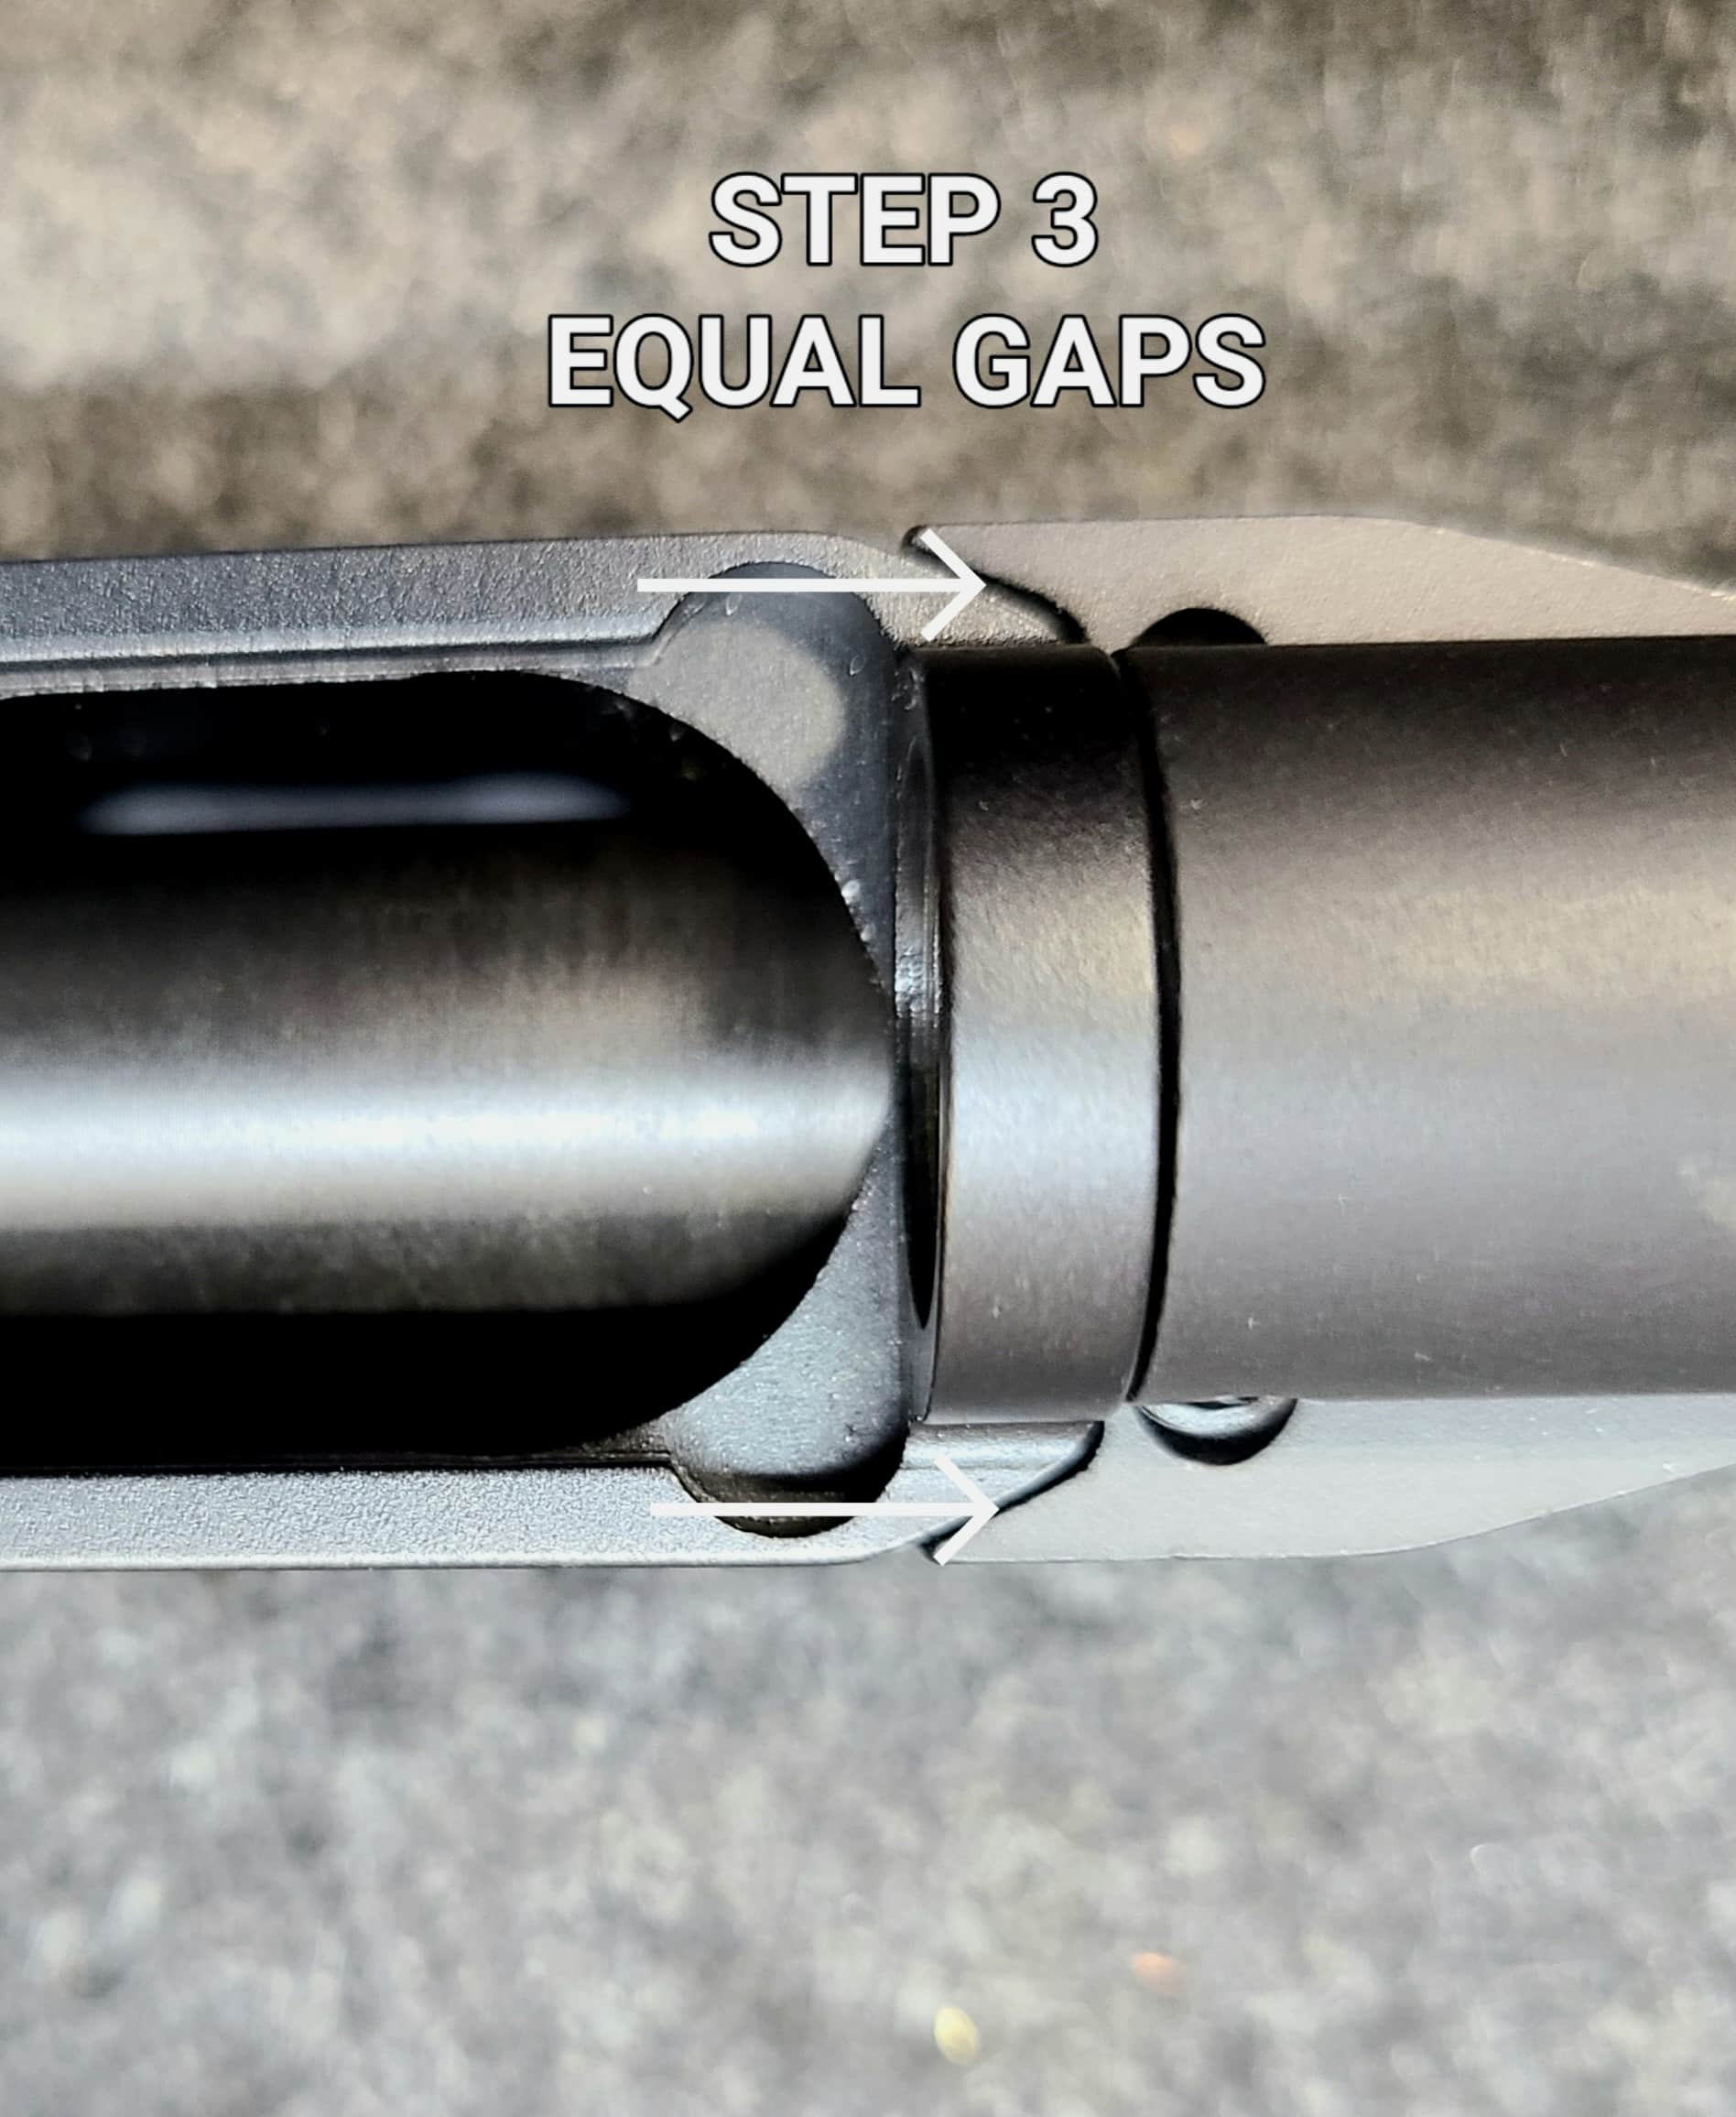
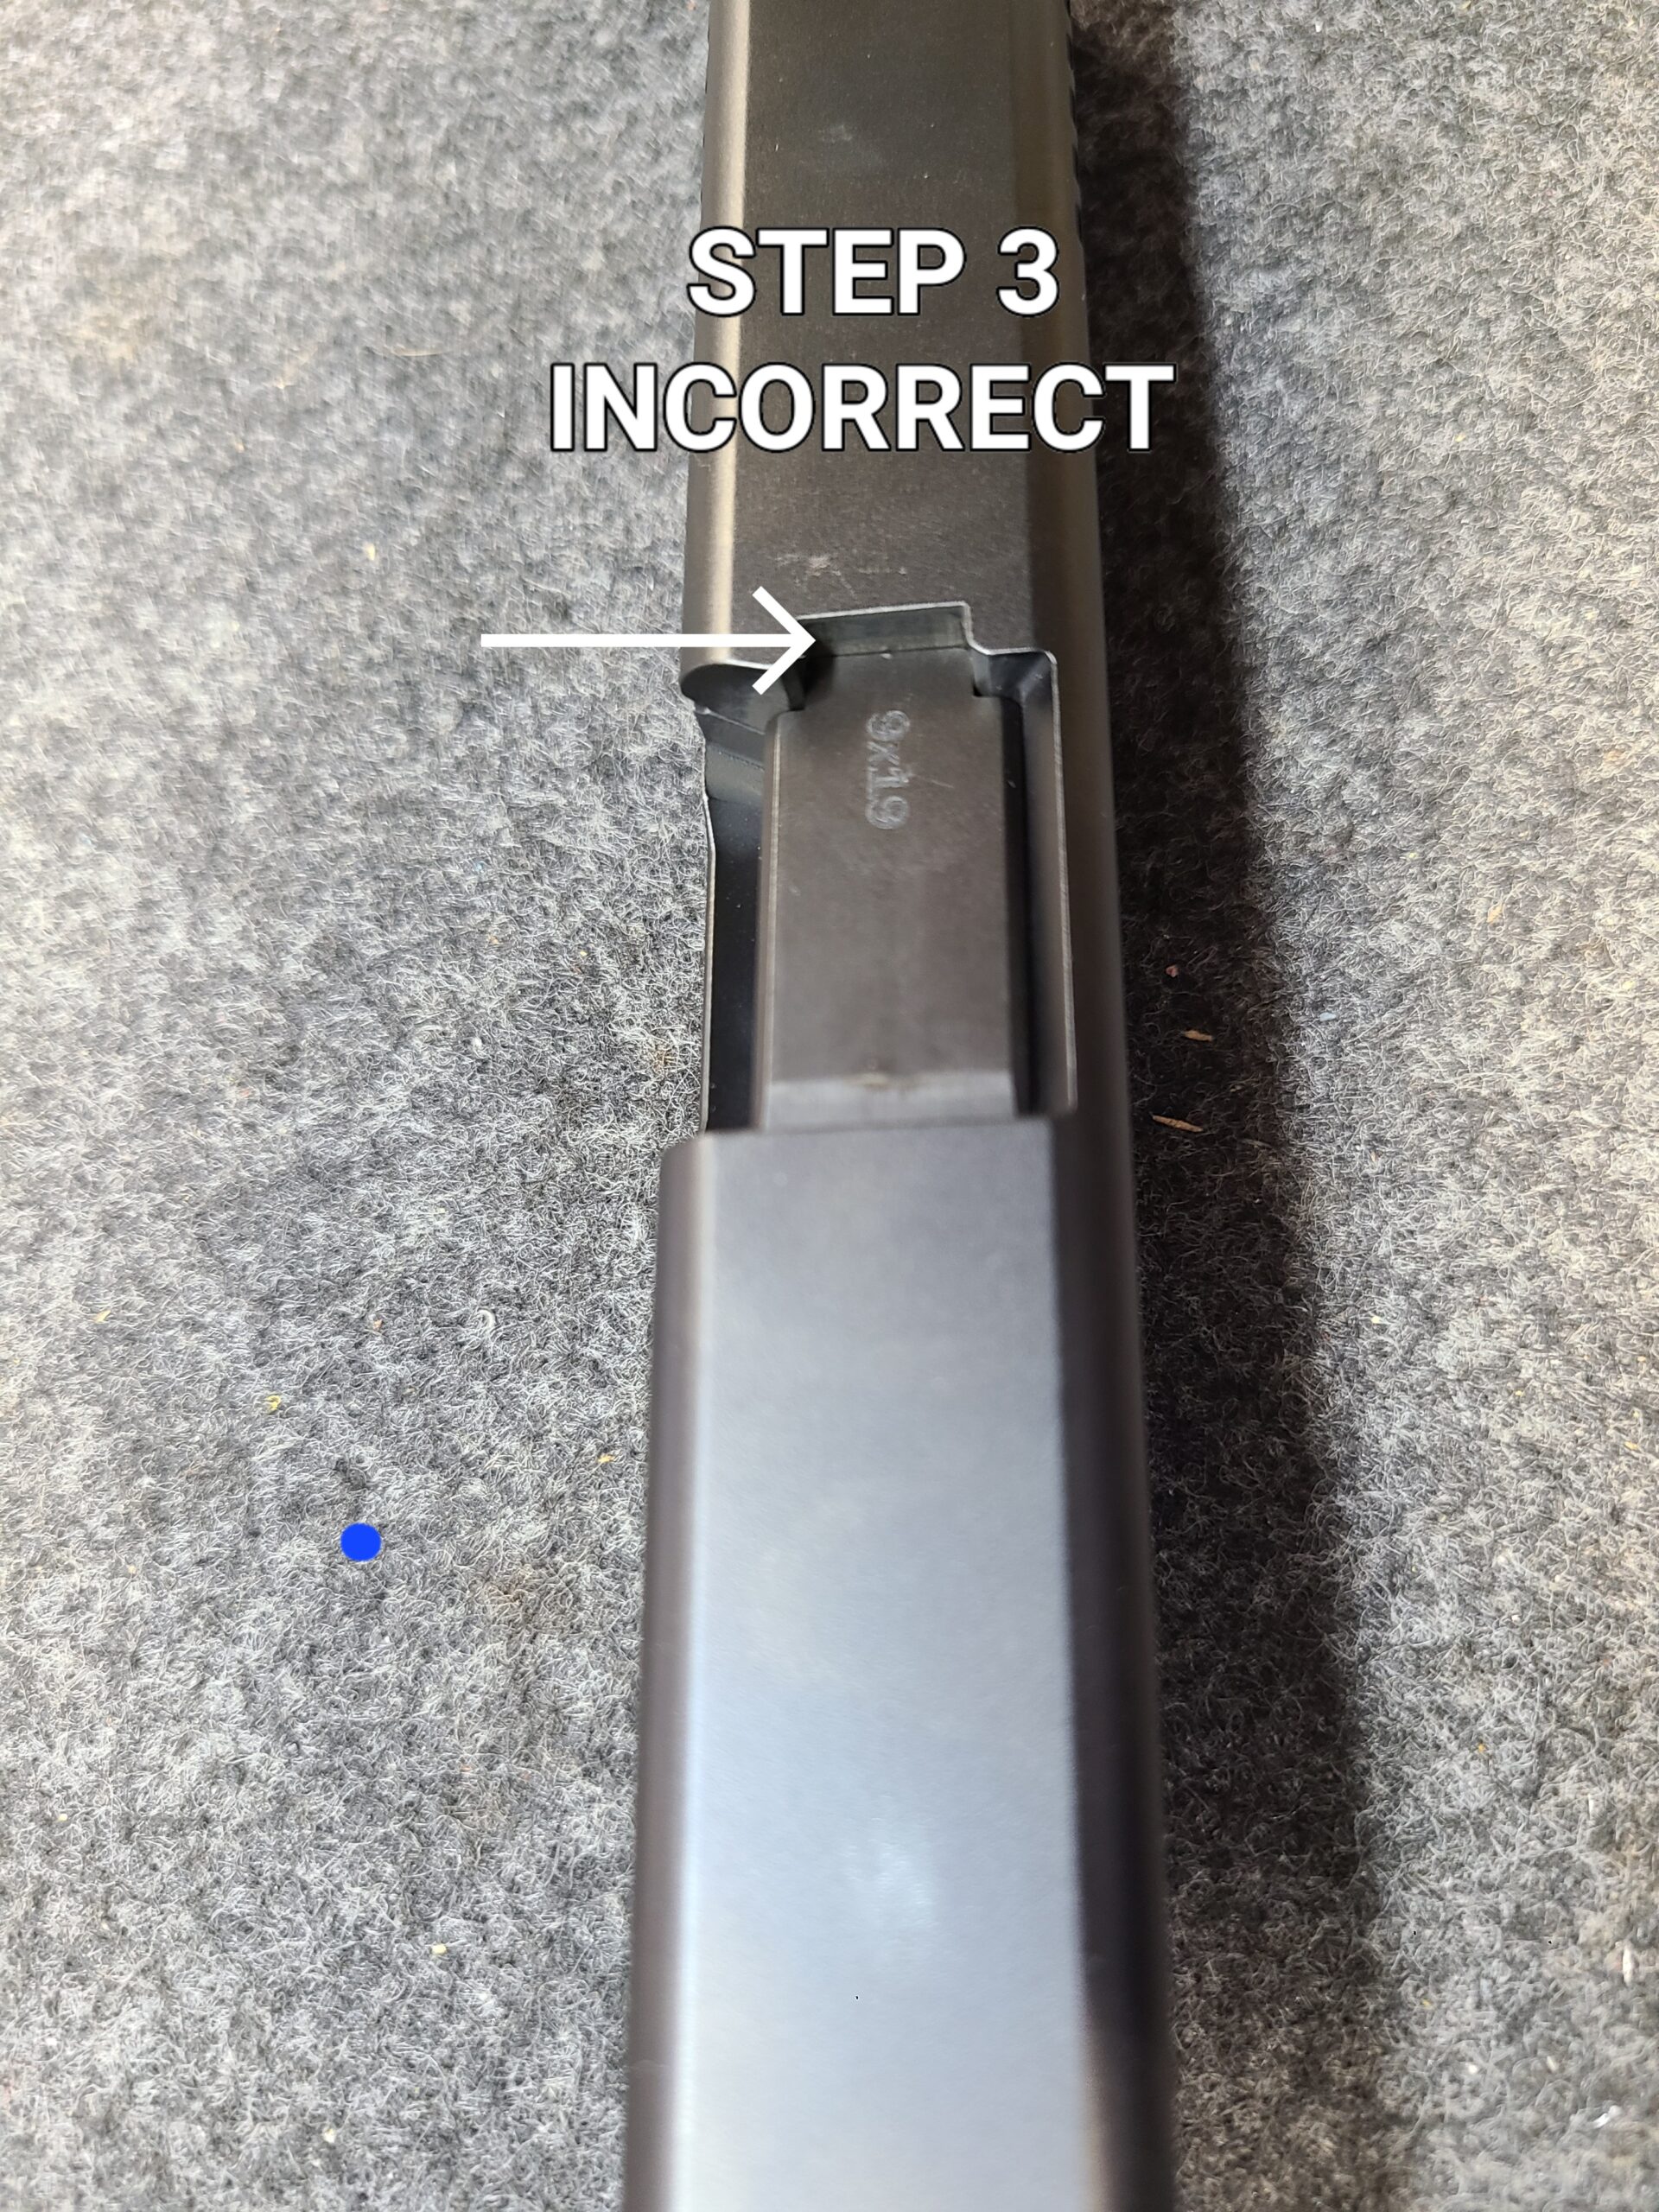
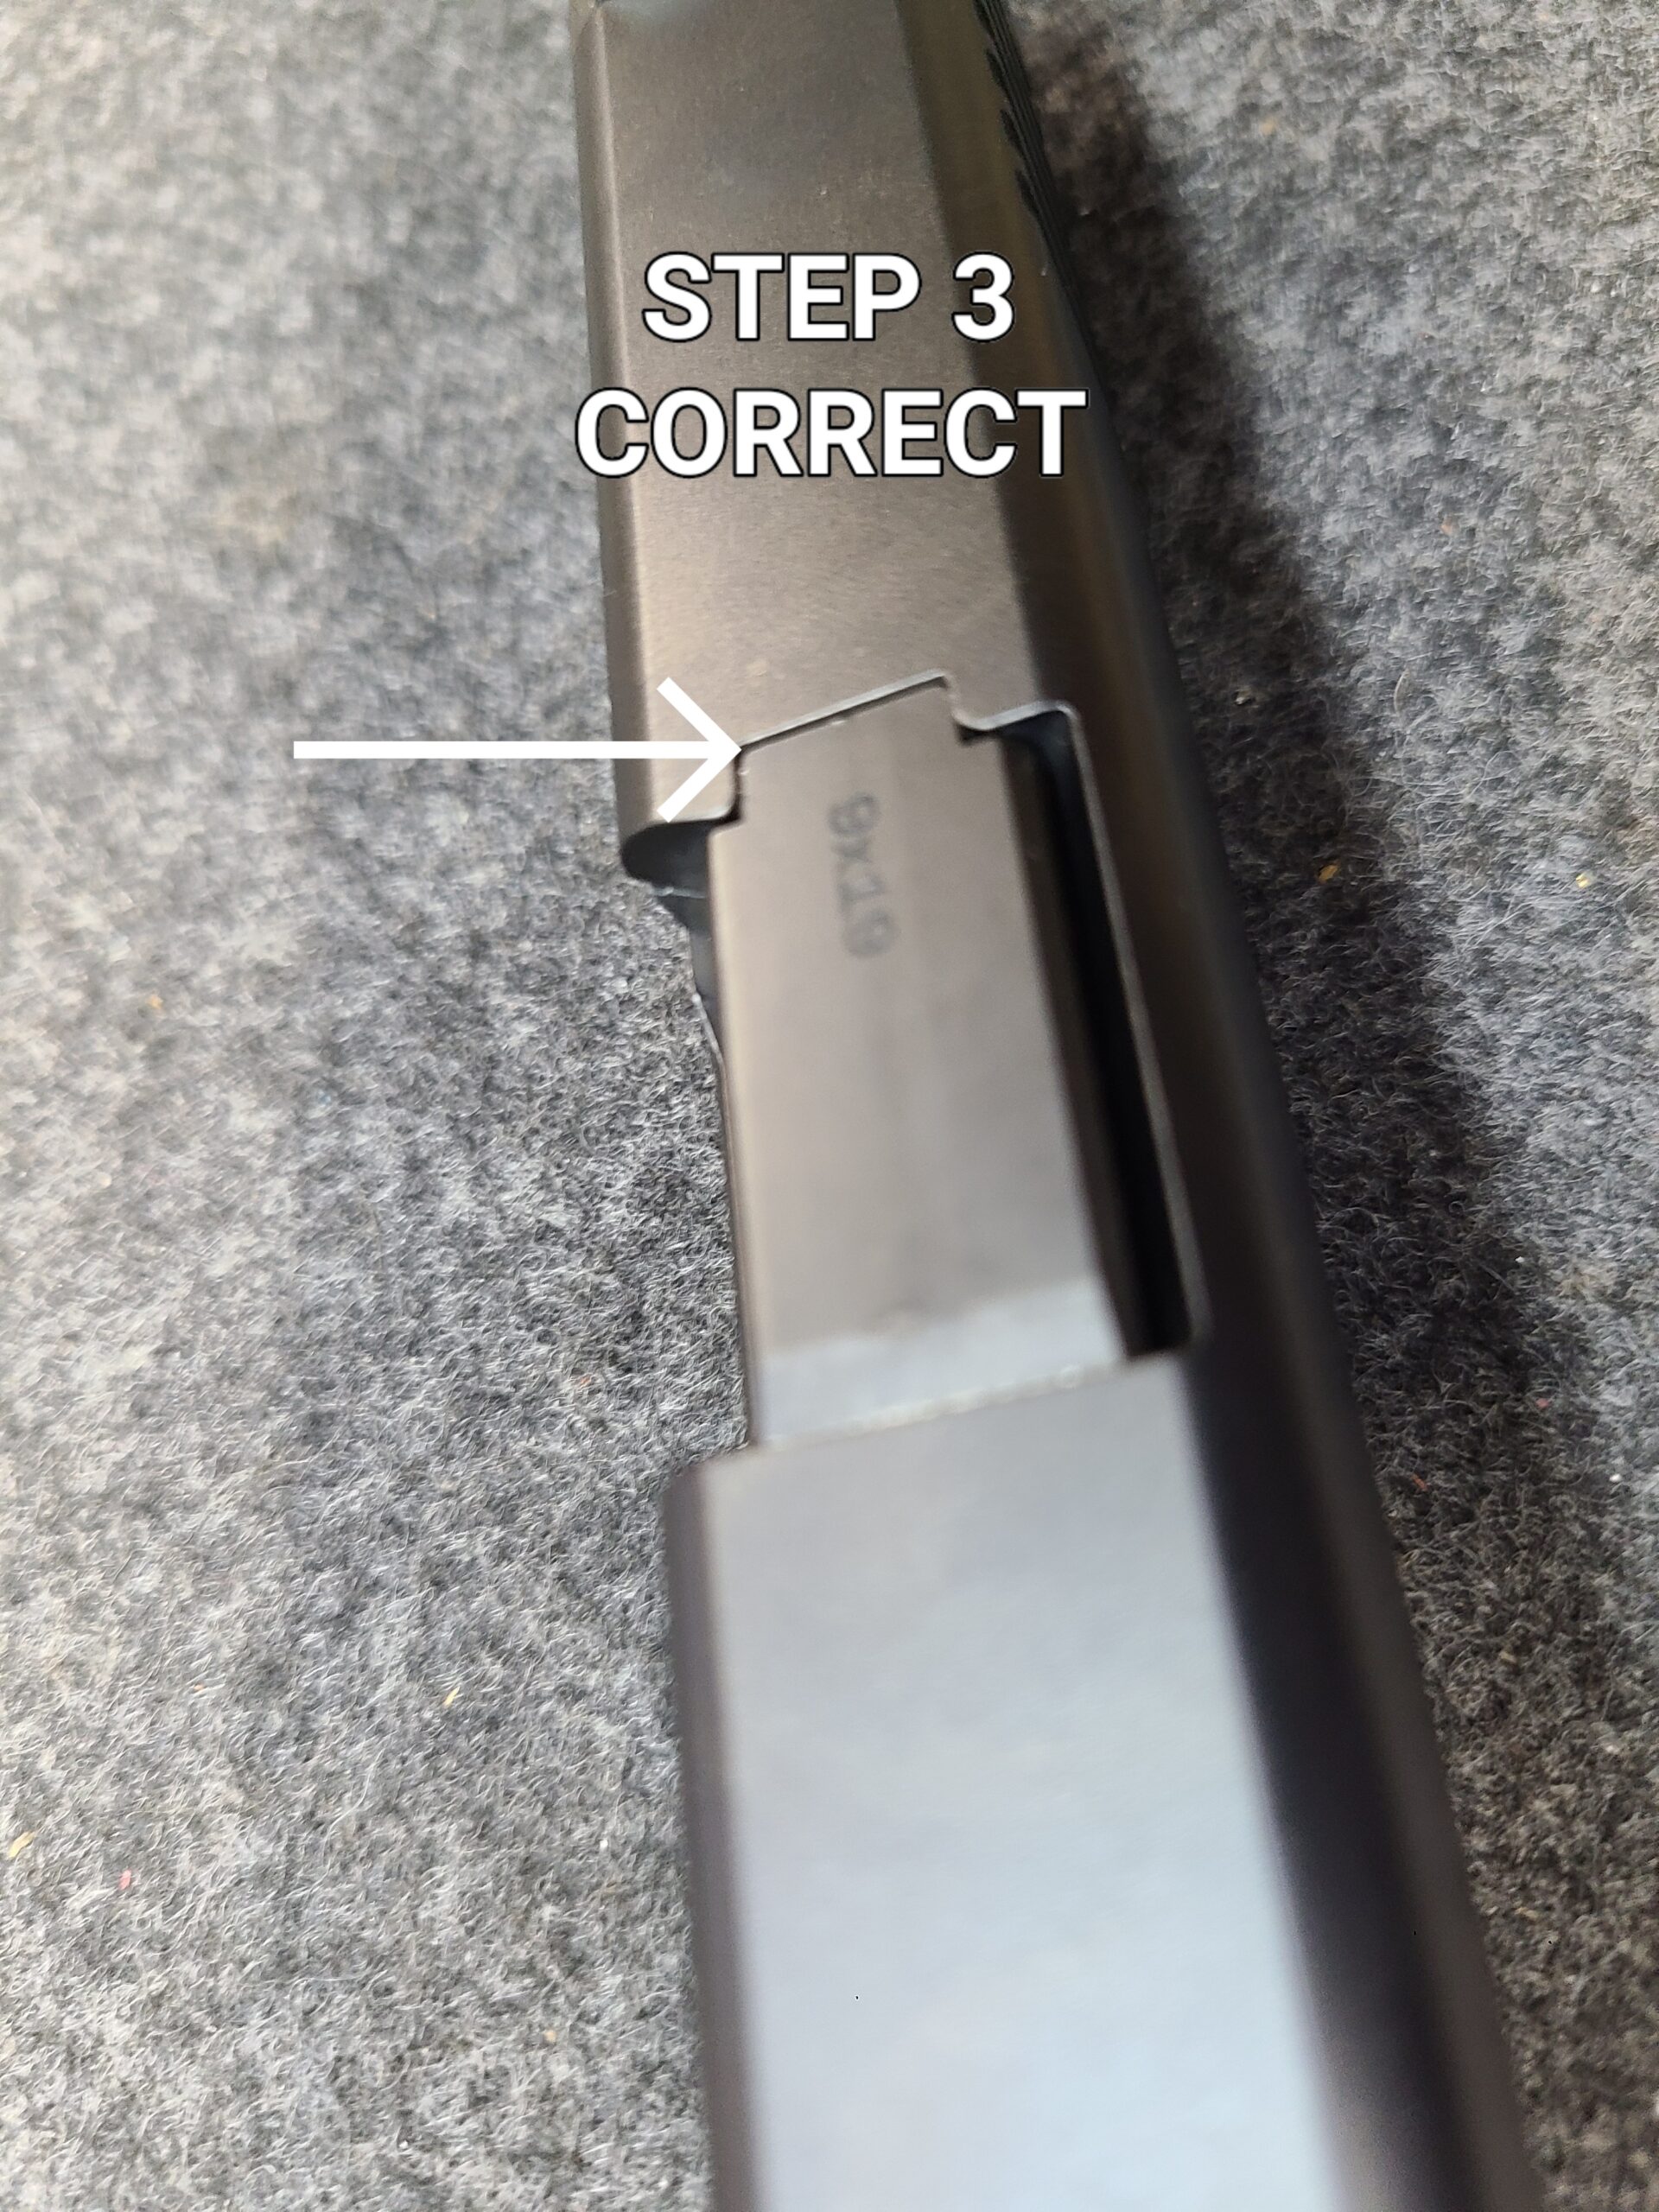
1/2-28) Continue threading it on until it stops, then reverse direction only the amount
needed so that the comp is aligned properly with front of slide. Move the barrel
rearward into the slide and make sure it clicks into battery position. (There should beclearance between the Comp and front of the slide)
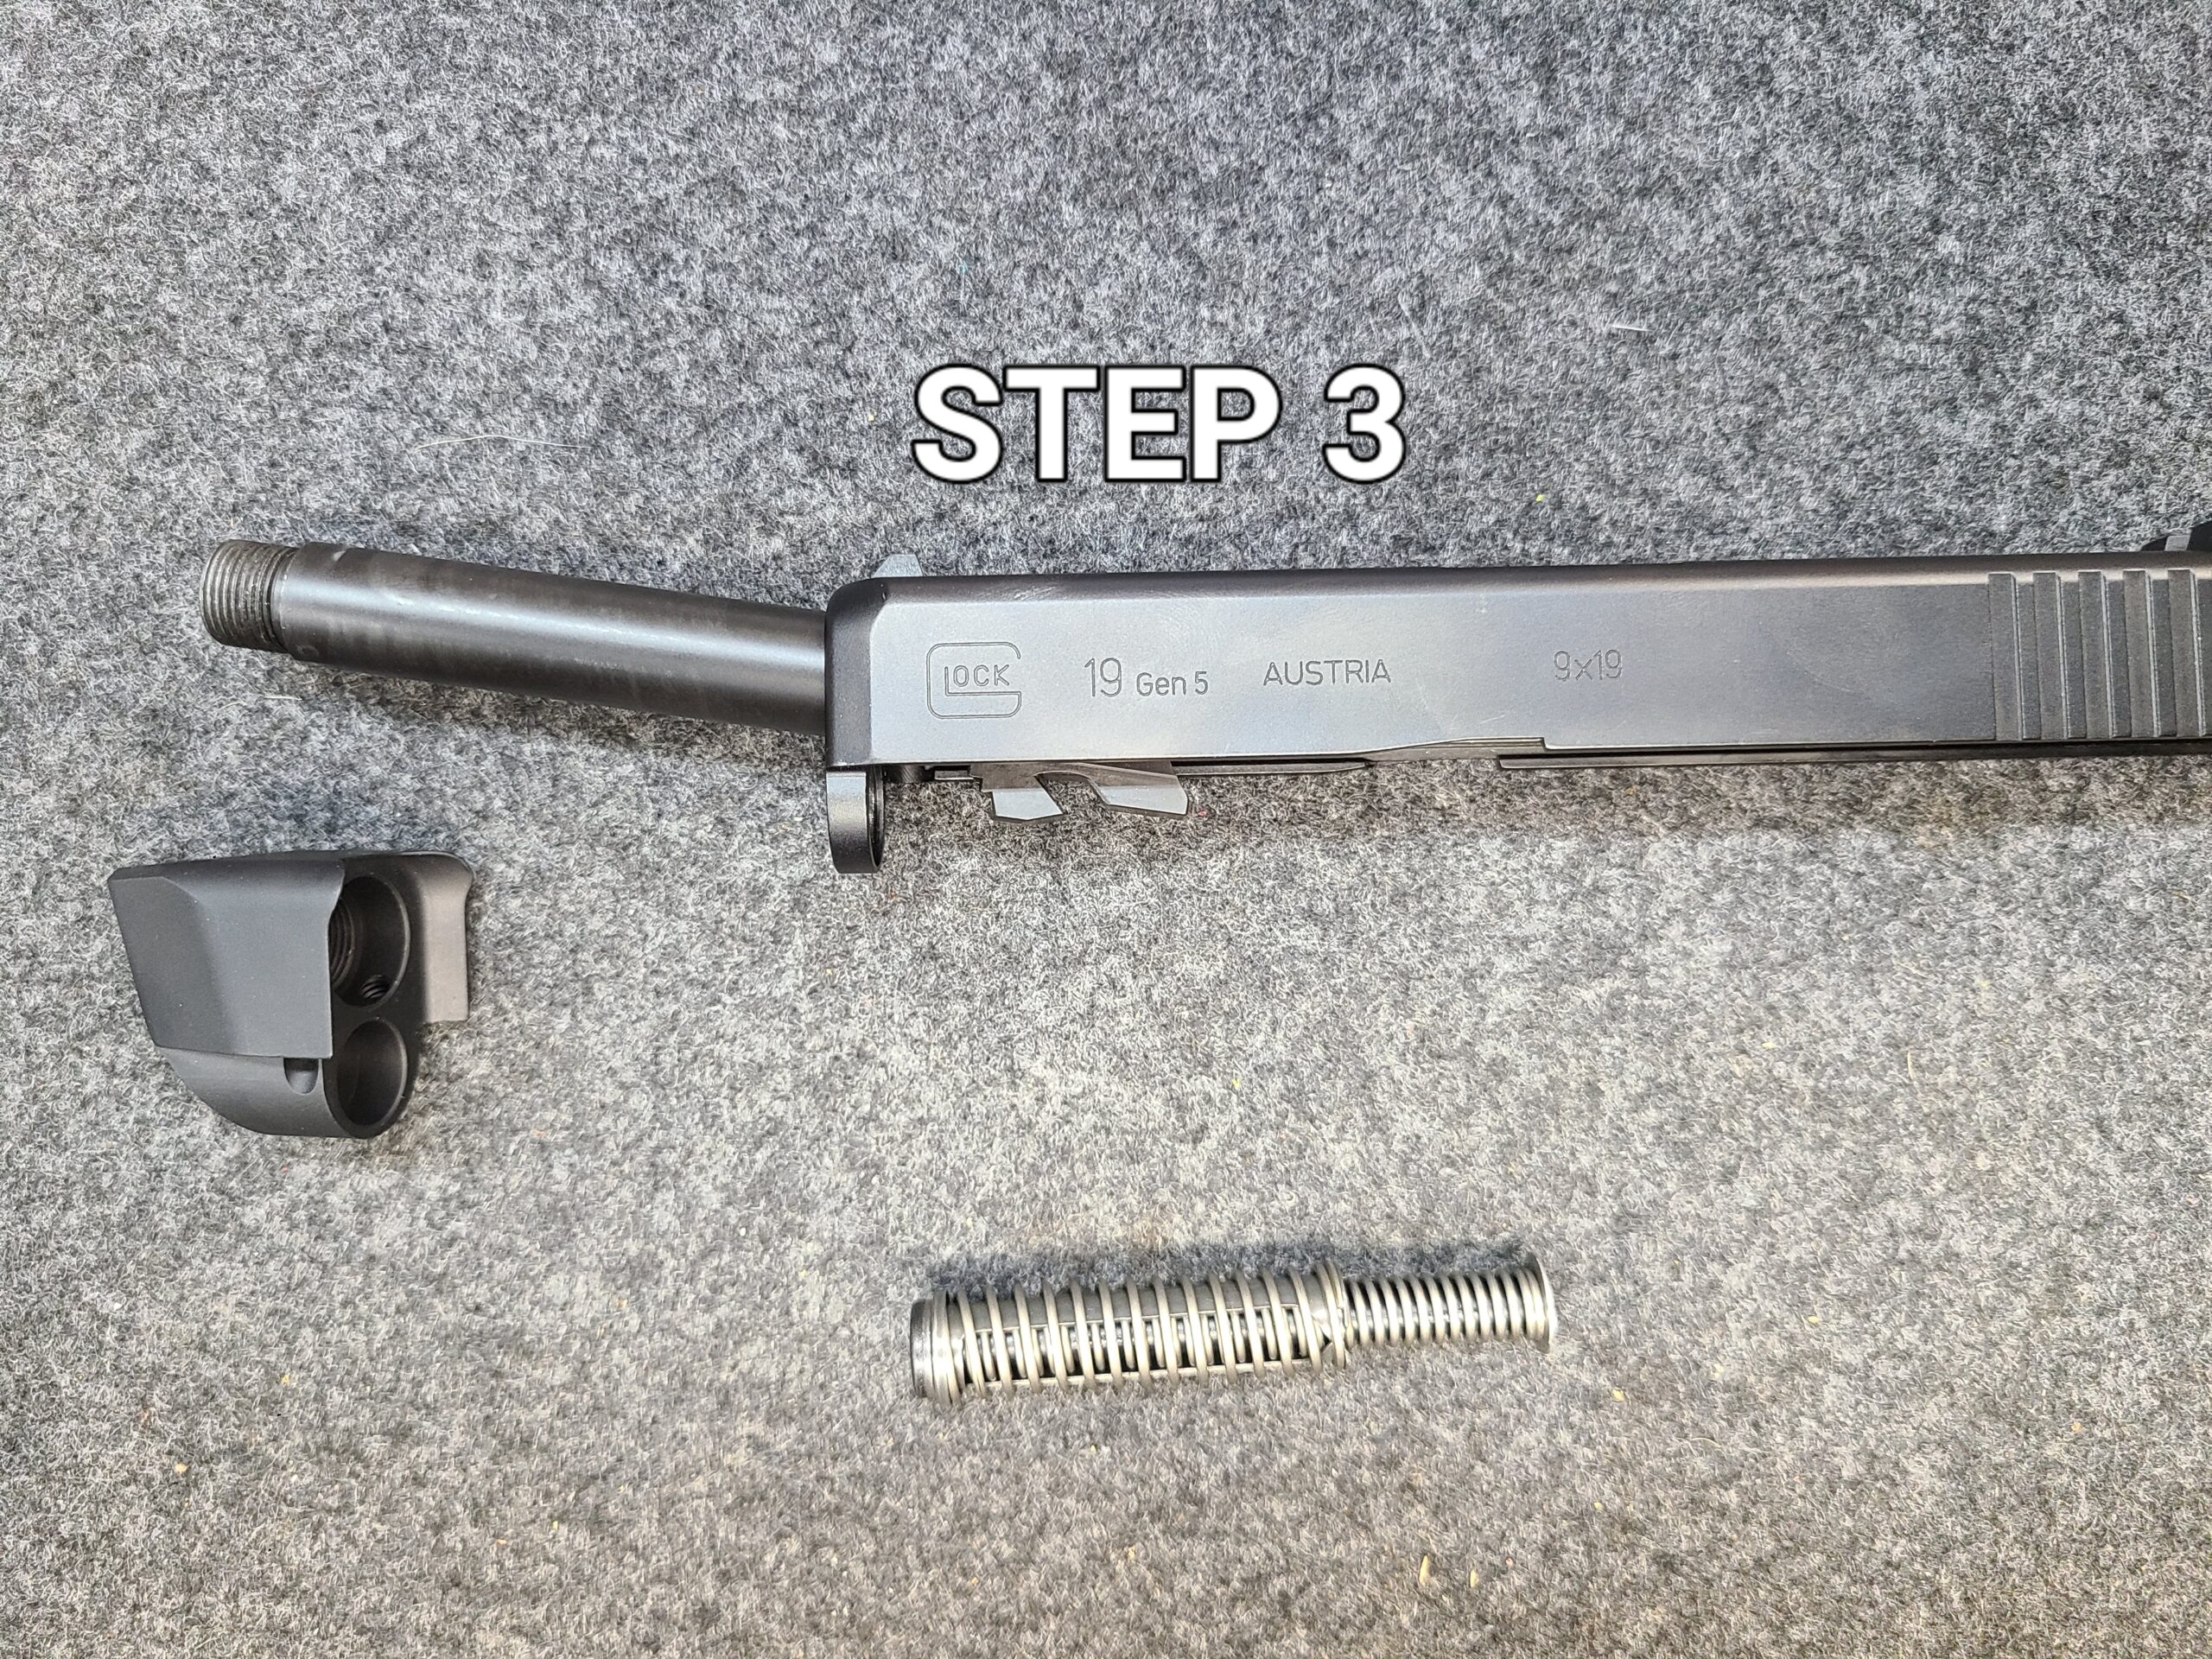
Insert the slide and comp assembly into an adequate vise of some kind. (if you do not
follow this procedure your pistol will not operate properly and you will not be
happy) Make sure you are protecting the finish of your slide and comp by using soft
jaws in your vise or some sort of flat wood or plastic strips. The idea here is to make
sure that the comp and slide are in perfect alignment with each other before performin the next step.
Remove set screws using a 5/64 allen wrench and apply fresh BLUE loc-tite, then
torque the set screws to a maximum of 12 inch lbs.
Want to be the first to know when we release new accessories? You can also request new designs.
Think you got what it takes to carry our products as a Distributor? Let’s see.
Ready to check out the goods? Feast your eyes upon our stash.
![]() It’s an honor and a privilege to be distributed by RSR.
It’s an honor and a privilege to be distributed by RSR.
Built by: Local Media Solutions
New here? Register now. Need to reset your password? Click here.